 Contact
 Andy's Parts Smarts
 Cart
Cart
Hello, Sign In!
LOWERING SPRING INSTALLATION
This is an article to show you how to install H&R lowering springs. This is shown on a 1999 Honda Prelude Vtec.
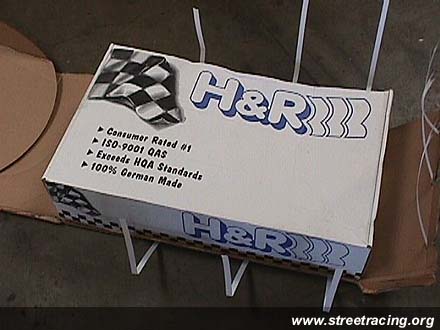
We decided to try out H&R springs.
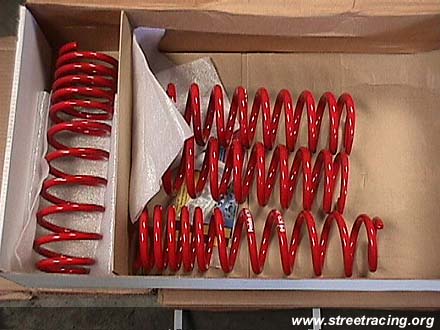
Make sure that they are all there. The H&R springs are shiny new red ones.
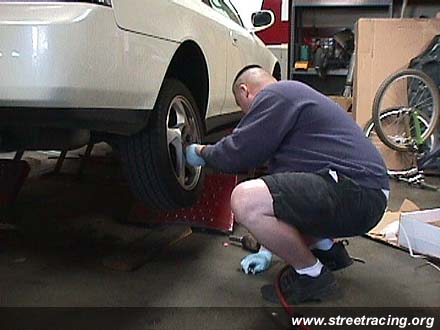
You'll definitely have to jack up your car for this one. Be safe and use jacks along with your jackstand. Next take
off the wheel.
In the rear trunk you will find the upper strut housing bolts on the Prelude. It might be a bit hard to find with the
interior covering it. You will have to remove the outer bolts. Do not remove the one in the center as this one holds the strut all
together.
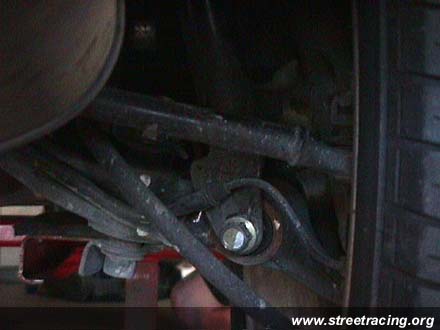
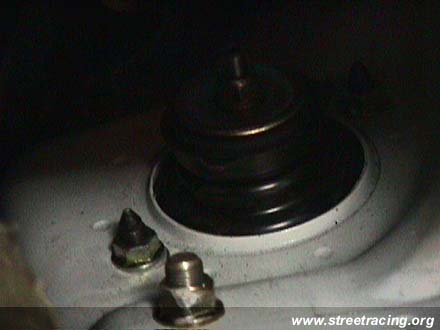
You can see that big nut facing us. This is the lower portion that holds the bottom strut to the car. This nut will
have to be removed as well. After that is out you will need a hammer to get the bolt out.
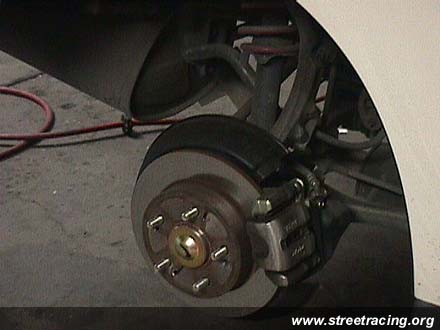
Here is just a side view with the tire removed. Sometimes the brake line cable will be in the way. You might have to
remove a nut to make it so this cable can move out of the way.
As you can see here, the spring housing is removed.
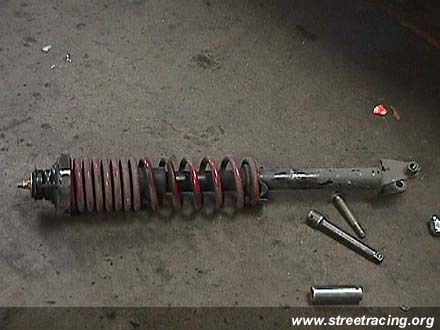
Shown here is the whole strut and spring assembly removed from the car. As you can see the spring is compressed and
under pressure still.

Here you will have to remove the big nut in the center. Do this with extreme caution, as the whole thing will shoot all
over the place because of the spring pressure. It's nearly impossible to remove the main nut with a normal socket because the whole
middle piece will move. Power tools are usually required.
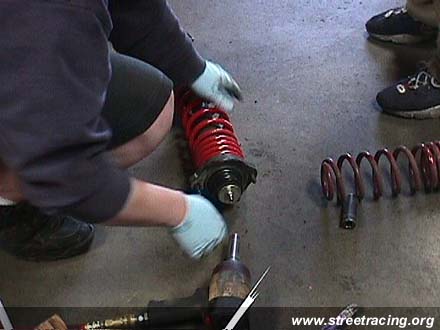
Now that it's all apart, replace the old spring with the new lowering spring. Here Tim is screwing the main bolt back
on.

Here is the housing with the new spring. To install just do the reversal of taking it off. You usually need at least two
people do to this as it can be physically demanding getting some of the pieces back into place.
