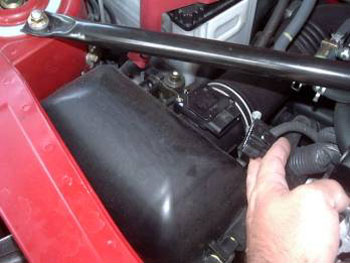
| This is a shot of the
stock air box. Sure, you have one to look at, but I took this
just for a quick reference. |
 |
|
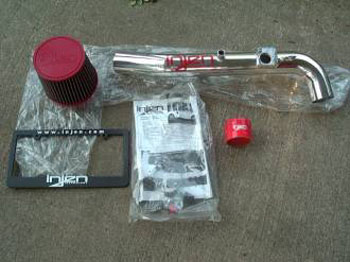
| Top
of the box it comes in- you should be able to see the part
number. |
 |
|
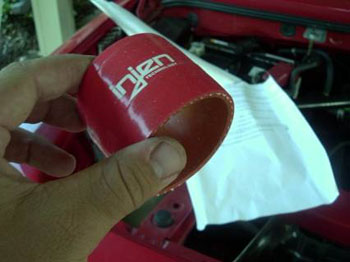
| The
contents of the box- a bag of hardware, the intake filter and
pipe, instructions that can barely be seen, a License plate
frame, and the throttle body fitting. |
 |
|
Step
One: Remove the stock air box, so start by disconnecting the
Mass Air Flow sensor- you will remove this and add to your
intake later
|
 |
|
| Loosen
the clamp, remove main hose from top of Air box, pull rubber
hoses out of their fittings on the air box (you'll know when
you look), Remove the Air Temp sensor, attached by 1 screw, and
set aside to reattach later- verify you have removed all
fittings, and take the lid (And filter element) out of the car. |
 |
|
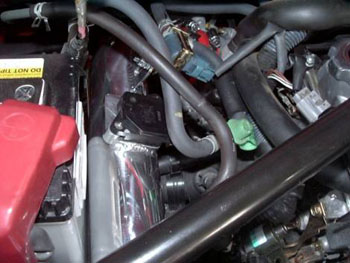
| Remove
2 10mm screws, bottom of filter box should be free- pull it out.
DON'T forget to pull the plastic tube out that goes under the
coolant bottle! |
 |
|
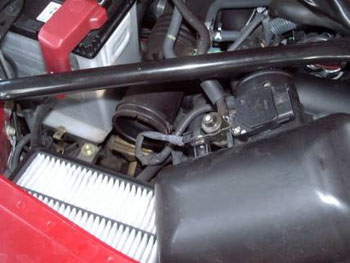
| Here
is the stock air box. Kinda makes you feel sick. ( I recommend
putting it back together w/ the 2 bolts inside, in case you need
it.) |
 |
|
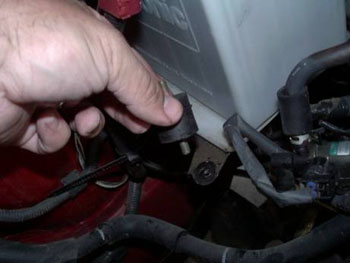
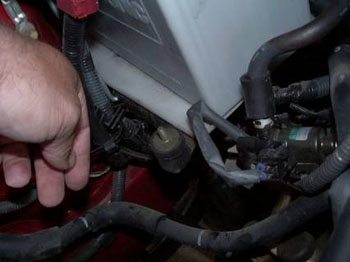
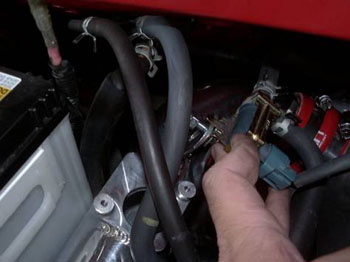
| Loosen
clamp at the throttle body, and pry out (GENTLY) the evap sensor
that goes on the right side- in the 3 linked dots. Notice the 2
fittings on top- you just need to gently pull the hoses out of
here. The pipe on the top left doesn't attach to anything, so
don't worry about it. |
 |
|
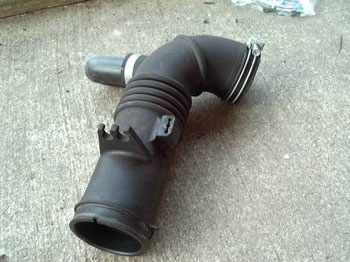
| This
is what the Evap sensor looks like. |
 |
|
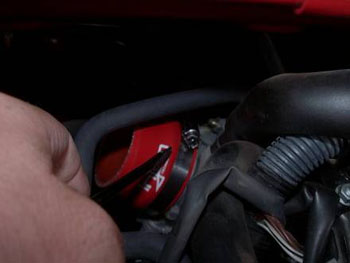
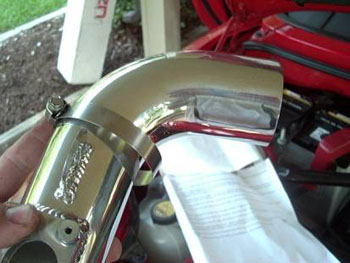
| OK,
install time. This piece goes on the throttle body- don't
forget to slide a clamp over it. This is the hardest part of the
install (and it isn't very hard)- stretch this piece over the
throttle body opening. |
 |
|
| And
then it will look like this |
 |
|
| Then
the clamp with STRIKE ONE of the install process- flathead
screwdriver required. It looks like a standard radiator hose-
the stock clamps may even be better (Phillips head screws), but
I did not use them. |
 |
|
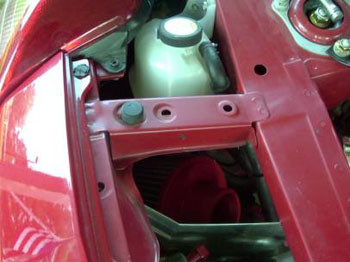
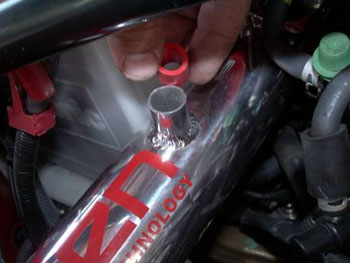
| This
rubber grommet goes where the top
bolt was on the bottom half of the stock air box- screw
it in until it stops. |
 |
|
| And
it's in place . . . |
 |
|
| Put
the filter element in below the coolant bottle- it is a snug
fit- don't worry- make sure the OPEN END is facing the engine |
 |
|
| Slide
a clamp over the intake tube, then carefully slide it into
place- don't cram it or you may scratch the finish. |
 |
|
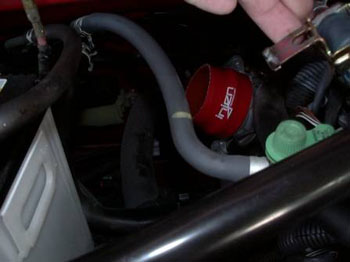
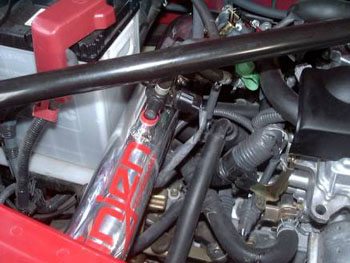
| Here
is the intake in place- I went ahead and tightened both clamps
at this point. Make sure you have a snug fit, and that the clamp
is on the red part completely or it wont seal as good. |
 |
|
| Attach
the Evap sensor to the welded 'ear' on the intake tube using
the enclosed bolt and washer on the side facing the engine, and
the washer and locknut on the other side- use a 7/16 wrench and
7/16 socket. |
 |
|
| Using
2 stock screws (Phillips- small) attach mass air flow sensor to
the intake tube. You could probably do this with it out of the
car- I probably should have but it isn't difficult to do with
the tube in. After this, attach the electrical connector. |
 |
|
| Put this small grommet
into place |
 |
|
| Like
this . . . |
 |
|
| Then
attach the air temperature gauge- press down firmly. Next, use
the enclosed locknut (7/16) to bolt the Intake tube (Left
bottom) to the little grommet you put in earlier- I recommend a
long extension, as the rubber will flex- a continuous 360 degree
motion will ensure a tight fir, while simple ratcheting will
only turn the rubber and allow it to return to its original
position without tightening. Then, attach the filter element to
the tube. |
 |
|
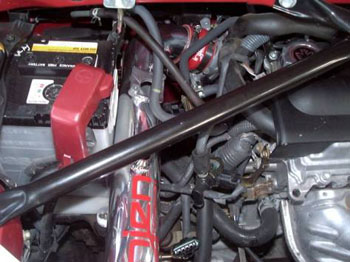
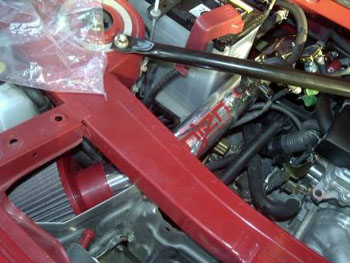
| The
finished product- took around 45 minutes. You will also notice
that the black zip tie connects 2 hoses- they can be seen at the
top right of the picture. |
 |
|
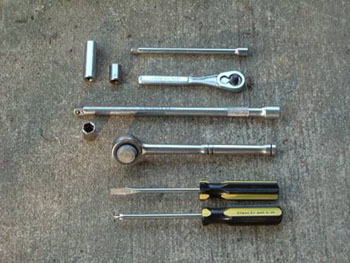
| Tools
I used: 7/16 short and 10mm deep Drive sockets, with a
long extension; 7/16 short 3/8 inch drive socket; flat and
Phillips head screwdrivers. |
 |
|
 1-800-419-1152
 Contact
 Andy's Parts Smarts
 Cart
Cart

