 1-800-419-1152
 Contact
 Andy's Parts Smarts
 Cart
Cart
Hello, Sign In!
GRANT STEERING HUB ADAPTER AND CLASSIC CRUSIN STEERING WHEEL INSTALL
Installing a steering wheel is one of the three most striking parts that can make your interior stand out (others being
the seats and shifter knob). It's one of the two parts people see as soon as you open your driver's door (the other being the seat).
This install will show you how to install the Hub adapter and wheel from Grant Products. Know for mostly their steering wheel line,
Grant Products offer more parts than just steering wheels and their adapters, such as shift knobs, seatbelt styling pads, and seat
covers. However, this article just covers the steering wheel and adapter.
The first thing to do is determine which steering wheel and adapter will work on your vehicle. Browse the website to
find what you need, and always feel free to get in touch with an Andy's Auto Sport rep any time.
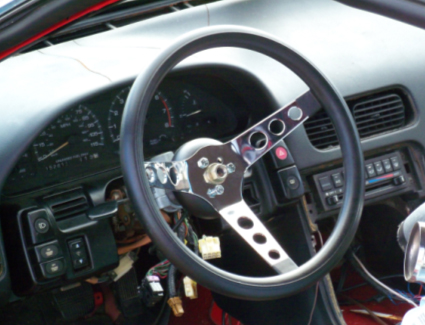
For this install, we are working on my 1990 Nissan 240SX Hatchback that I will be using in the Drift Nirvana series
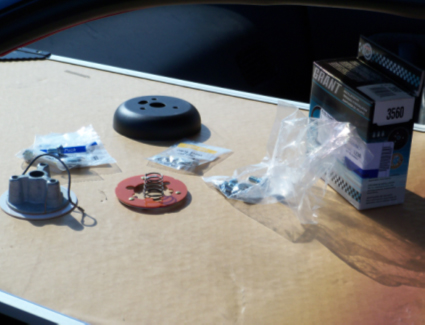
New Jersey round of the Xtreme Drift Circuit. I chose to go with Grant part number 3560. It comes with the adapter, cover, horn
adapter, and bolts.
After you have removed the horn fuse (or disconnected the battery on Air-Bag equipped vehicles), you have to get
horn cover off. On some vehicles that have air-bags, such as this '98 Ford Ranger, there are bolts to remove. These bolts hold
the air-bag assembly onto the wheel. Take a small pick or small flat head screw driver and pop these off.
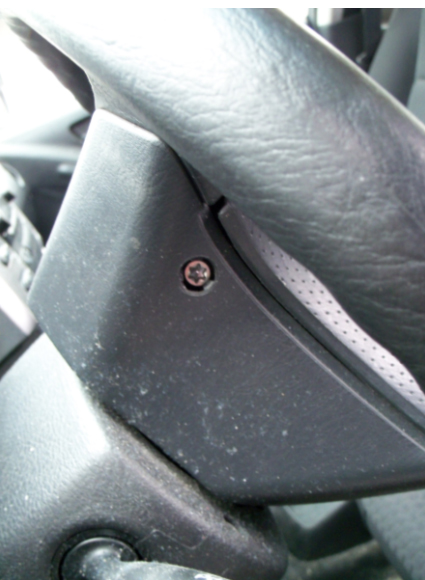
Some cars use a standard nut or bolt, but many cars are becoming tamper-proof (or dummy-proof, depending on how
you look at it). Many OEMs use Torx or Secure-Torx bolts to prevent you from taking your car apart. It's a form of
"save-you-from-yourself-to-keep-you-from-suing-us." And in the same fashion, here is my warning:
REMOVING THE AIR-BAG IS POTENTIALLY DANGEROUS.
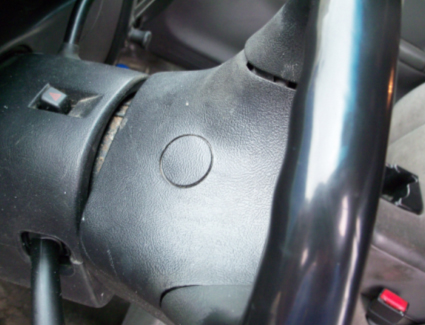
Ok, warning over. Fortunately, the '90 240SX is not equipped with an air-bag and simply has a horn cover. You pull
on the top of the cover, just take the bottom of the cover and push up. Then unplug the horn wire. Easy, ain't it?
From here you remove the steering wheel. First remove the nut in the center of the wheel. For my S13, it took a
19MM socket, small 1/2" extension, and 1/2" socket wrench. From here you have two options, well you could say three, but let
me tell you why there are two. First option, you take the nut completely off and yank on the steering wheel until it hits you
in the face. See, you should have listened to me and not done that. If you don't have a steering wheel/pulley puller, you can
still do the wiggle-and-yank method, but keep the nut three or four turns on the steering shaft.
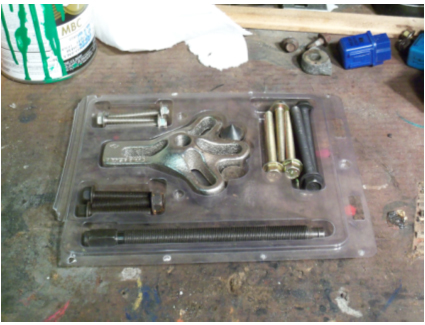
The best method is to use this steering wheel/pulley puller. It's easy to use and you probably won't get a black
eye or broken nose. Don't ask me how I know.

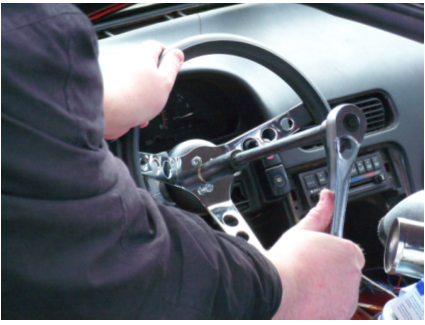
First, take the chicken foot and long shank and screw it through the center.
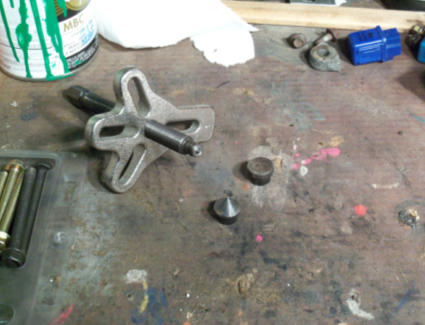
Now, determine which adapter you need to use if you even need to. Look at the steering shaft and see how big the
dimple is. Usually you use the large dimple.
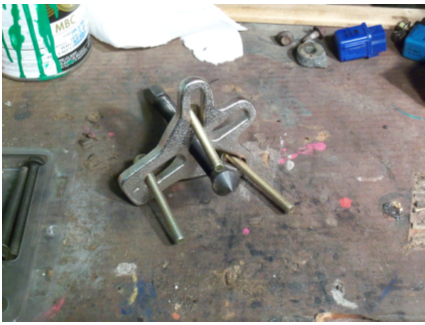
If you look in your steering wheel, there will be two or three holes. The bolts provided by the steering
wheel/pulley puller will be used in these threaded holes. Find the ones that fit and put them through the chicken foot. Tighten
those three (or two) bolts and then hand-turn the center shank until the bolts pull against the foot.

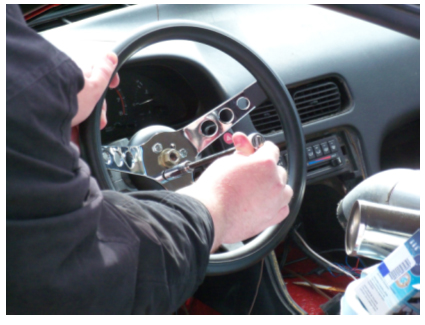
Using a boxed-end wrench, or the boxed-end of a combination wrench, turn the center shank until the steering wheel
comes off. See how much easier it was? Ok, the yanking method is pretty fast, but who's got the broken nose? Alright then!
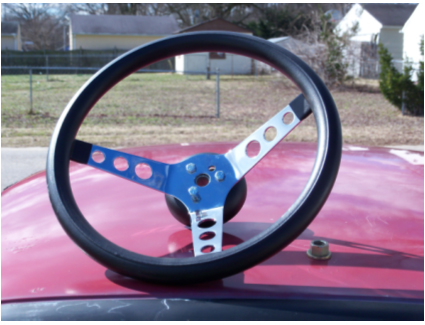
Since you have the steering wheel off, you might as well put something else back on. I used the 3560 adapter from
Grant. The 3560 adapter is used on Classic, Challenger or Signature series wheels and the Vehicle Security System. In this case,
I am using the Classic Crusin' steering wheel which I chose for the classic, race car look the wheel gives me. While never
pictured, there will be a foam pad in the center of the wheel where the horn would be.
Take the three bolts, either from the kit or the ones you provide like in my case, and put them through the wheel
and cover. Then tighten them to the cast adapter. If you are installing the horn install the horn adapter, pull the wires through
the wheel and adapter, then tighten the bolts to the adapter.

Take that assembly, line it up with the steering shaft, and push down as much as you can. Then take your 19MM nut
and spin it on.
Tighten the nut with your socket, extension, and wrench till it's tight, then torque to specifications.
Finally, make sure everything is tight and then install your horn button.
As you can see, installing a wheel is not a hard or even daunting task. When you use the proper, yet simple,
hand tools, everything goes as smooth as installing an air filter. Yet, the effect is far more dramatic. You will get more
attention when you choose the wheel you like than using anything OEM.
