|
|
|
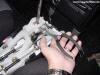
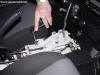
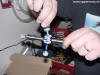
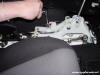
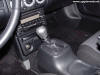
First, unscrew the shifter Knob. |
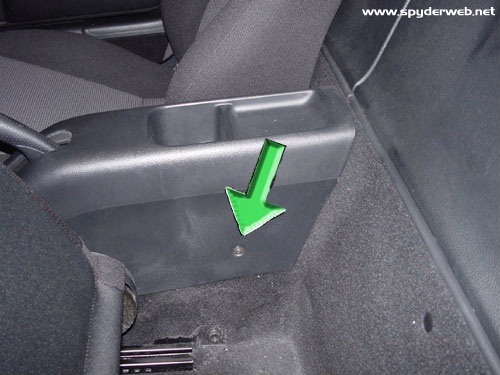
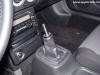
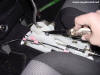
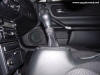
Remove the screw at the rear of the console with a phillips-head screwdriver. Repeat this on the passenger side. |
|
|
 |
 |
|
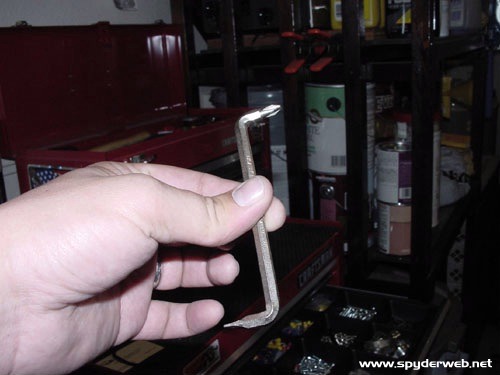
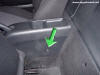
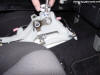
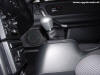
Remove the screw at the front of the console using a Right Angle phillips-head screwdriver. Leave the seat in the "forward" position for this.. You will have more room for the screw driver. Repeat this on the passenger side. |
This kind of screw driver didn't work too well for the front console screws. |
|
|
 |
 |
|
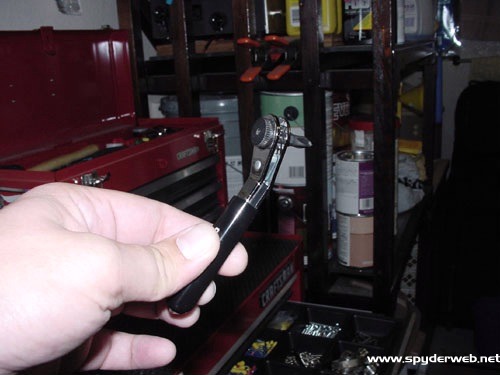
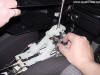
Luckily, this ratcheting one worked just fine. I think it was about 20 bucks at Sears, which to me is way better than having to remove the seats to get at those front screws. |
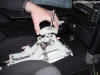
Lift the console up and off. Go slow! You don't want to lift it too much because of the wires for the power windows. |
|
|
 |
 |
|
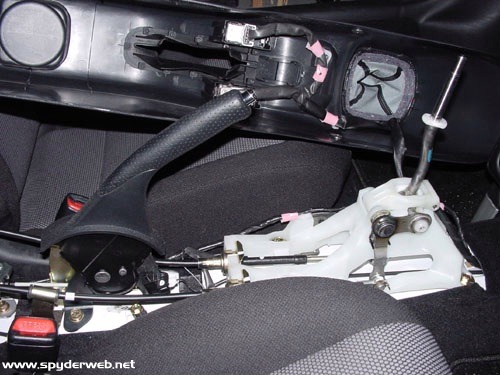
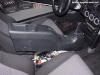
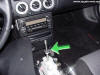
Lay the console over on the drivers (left) seat. |
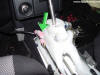
Cut this piece of tape to give yourself a little more slack in the electric window wires. Be sure and replace it when you're finished. (What's up with pink electrical tape anyway?) |
|
|
 |
 |
|
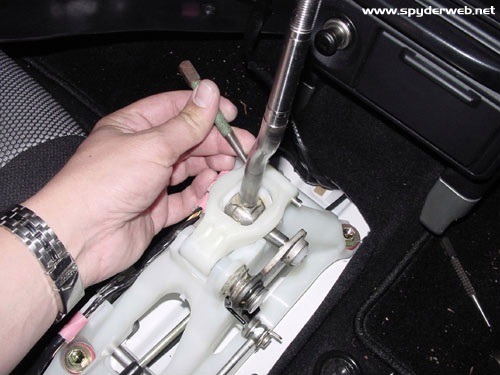
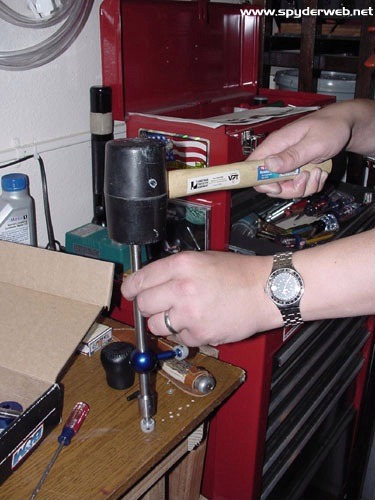
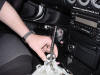
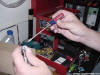
Use a hammer and punch to remove the front pin. Be sure to place the punch on the edge of the pin as it is hollow. If you place the punch in the center of the pin you will only expand it. Try to be delicate with this step. |
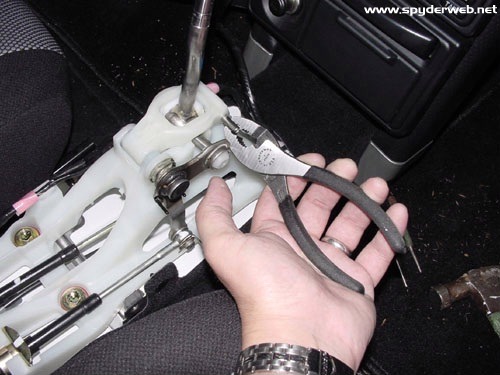
Once you have the pin about half way out you can use pliers to pull it the rest of the way out. |
|
|
 |
 |
|
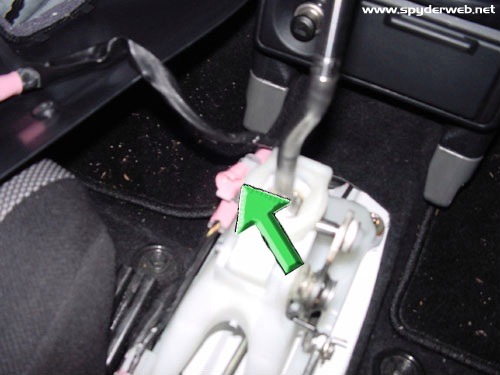
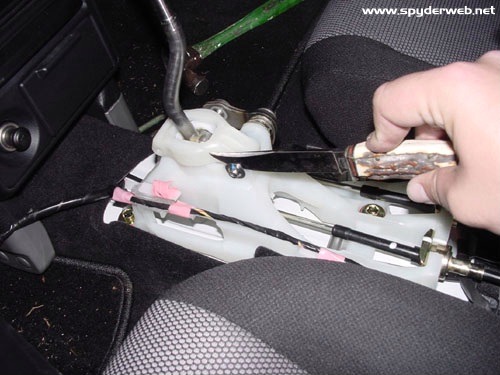
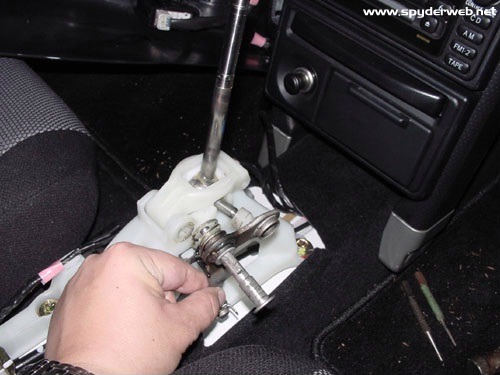
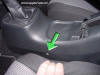
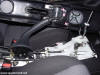
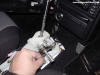
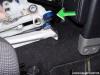
Pry off the push nut for the rear bolt. I used a knife to bend it just enough so that I could get a screwdriver in the space and pry it off. Don't worry, a new push nut is supplied in the kit so bending it doesn't matter. |
Now pull the bolt off. I just pulled it out and let the assembly hang to the side. |
|
|
 |
 |
|
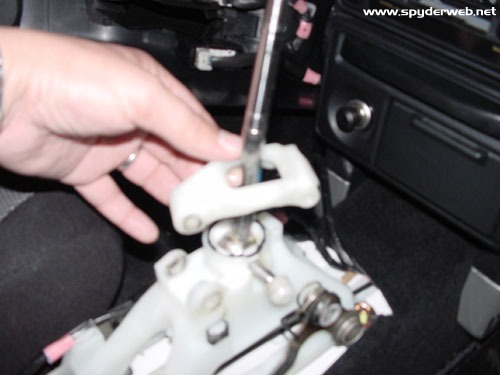
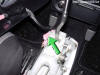
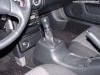
Remove the shifter cover. |
Remove the shifter "O-ring" and gasket. |
|
|
 |
 |
|
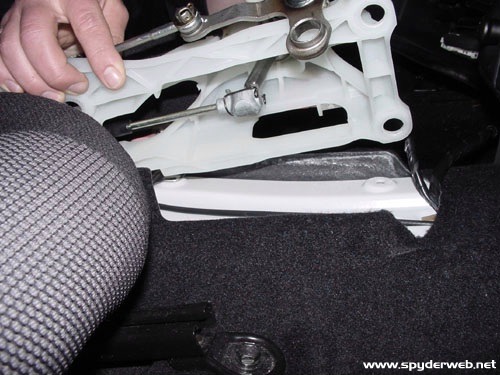
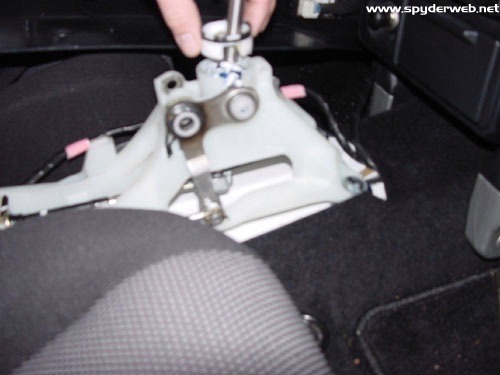
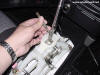
Remove the four bolts that hold the shifter assembly to the chassis. Use a 12mm socket. I previously installed the Kumosport bushings, so I just had to take them out. If you're doing this on a stock shifter, you will have to remove the metal inserts and rubber grommets from the four bolt holes. |
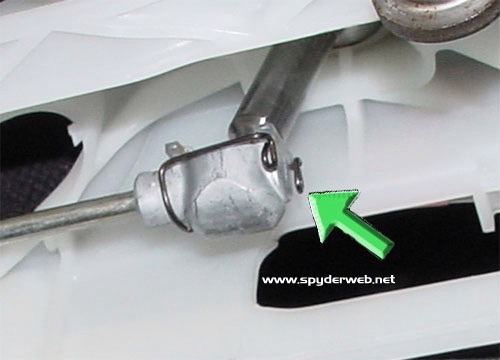
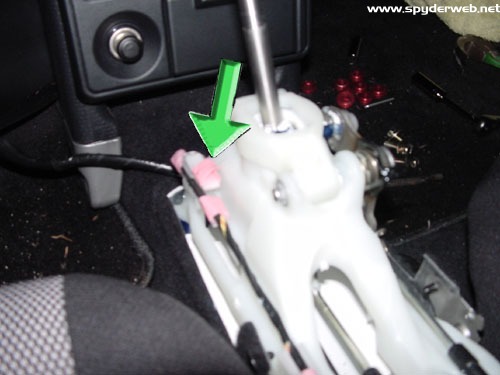
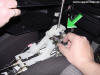
Turn the assembly up towards the drivers (left) side and remove the "cotter pin" which holds the shifter to the cable. It is a U shaped spring. |
|
|
 |
 |
|
Heres' a close-up of the pin. Slowly and gently pry one side of the pin out, down and around the bottom to remove. |
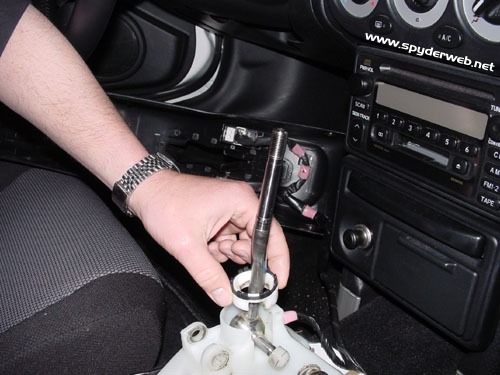
Now remove the bracket that holds the shift knob in place. You can just pull it right off the shifter. There is also a black rubber gasket that goes on top of the bracket. If you don't see it, it may be stuck to the underside of the shift boot. This made me take off the console a second time to replace... doh! You can now pull the shifter out of the assembly. |
|
|
 |
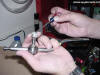 |
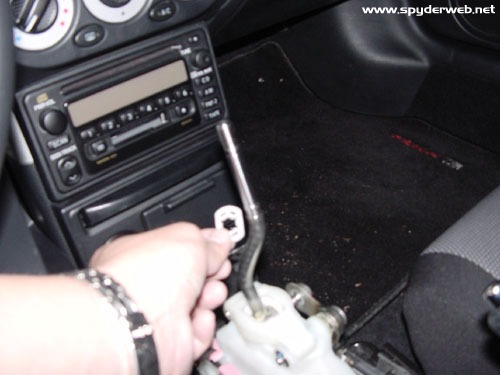
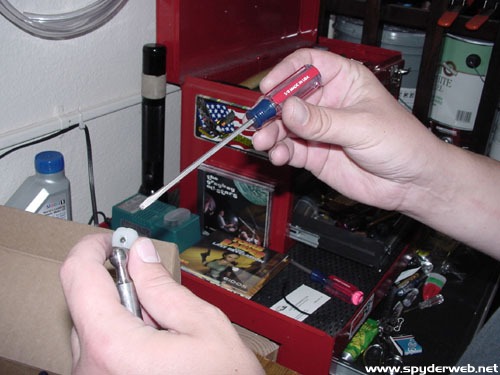
Next you'll need to pry off the two pivot cups from the stock shifter. Be careful! You need to attach these parts to the new shifter. I used a small flat-head screw driver to pry them off. Make sure the screw-driver is fairly small. You don't want to damage the pivot cups.
UPDATE: Feb. 07 2002: I've been told by a few people that the B&M kit now comes with replacement pivot cups already installed on the B&M shifter. If this is the case with your kit, you can skip this step. |
I had the best luck putting the screw driver right underneath the ball bearing in the pivot cups. It came off with very little effort. Again, the right sized screw driver is the key here. If the "blade" is too fat, you may damage the pivot cup. You need a screw driver with a blade thin enough to fit in between the pivot cup and the shifter. |
|
|
 |
 |
|
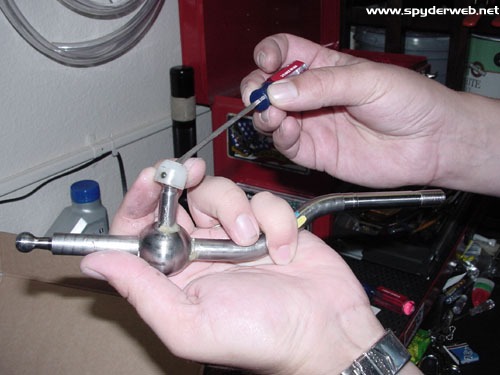
Now you're ready for the new shifter. First, liberally grease both ball-ends of the shifter. To get the pivot cups on the B&M, I used a rubber mallet and gently "gave it a tap". They popped right on. Be careful with this step also! |
Put lots-o-grease on that blue ball! You can now put the shifter back into the shifter assembley and re-attach the bottom cable with the cotter pin. |
|
|
 |
 |
|
Insert the B&M bushings. They fit snuggly so you don't have to hold them. Do this for all four bolt holes. |
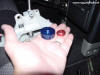
Here's a comparison of the blue B&M bushings vs. the red Kumosport bushings.. |
|
|
 |
 |
|
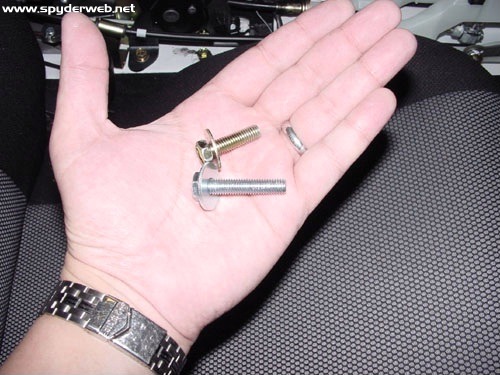
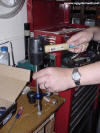
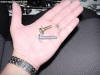
After you've got the B&M bushings in place, use the B&M supplied bolts to attach the shifter assembly. Notice the difference in length between the B&M (silver) bolt and the stock Toyota (gold) bolt. |
Tighten the B&M bolts using a 13mm socket. |
|
|
 |
 |
|
Replace the "O-ring" and gasket. |
Replace the shifter cover. |
|
|
 |
 |
|
Replace the rear bolt for the shifter cover. Use the supplied push-nut to secure the bolt. This isn't easy, probably the hardest part of the install. I really had to wrestle with the push-nut to get it on and secure. Take your time and don't force it. I had the best luck getting one "side" on and then pushing the other on. I then moved it back-and-forth until it was nice and snug. |
Now put the supplied pin into the front of the shifter cover. (sorry, no picture for this) Tap it in lightly with a hammer. |
|
|
|
|
 |
|
Put the shift knob bracket back on the shifter. |
And don't forget the black rubber gasket on top! |
|
|
 |
 |
|
Don't forget to replace the electrical tape that secures the wires for the electric windows. |
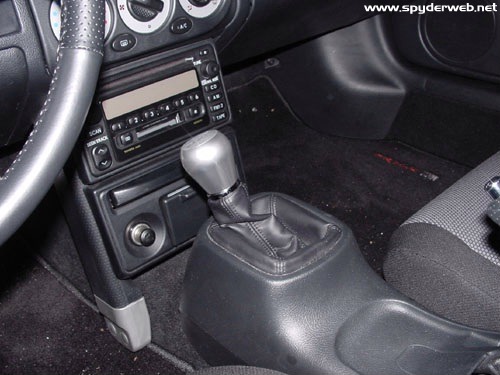
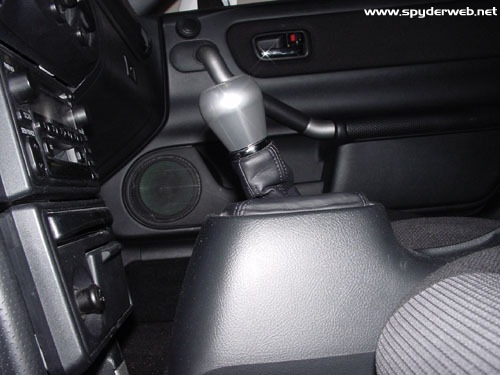
Put the console back in place and attach with the four screws. Screw on the new knob and put the cap on... PRESTO! You have a silver shifter!
NOTE: The stock shifter will fit just fine on the B&M if you like.
Have you ever heard the song "Silver Shifter" by Tsar? I keep singing that lately for some reason. |
|
|
 |
 |
|
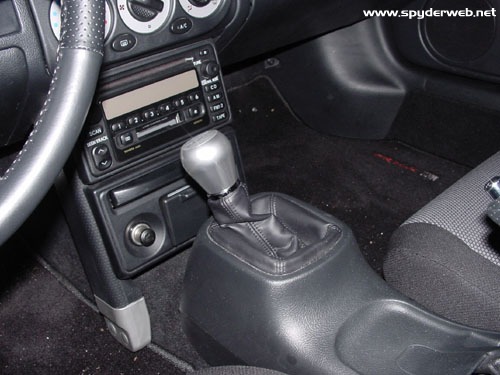
Here's a picture of the stock shifter in first gear. |
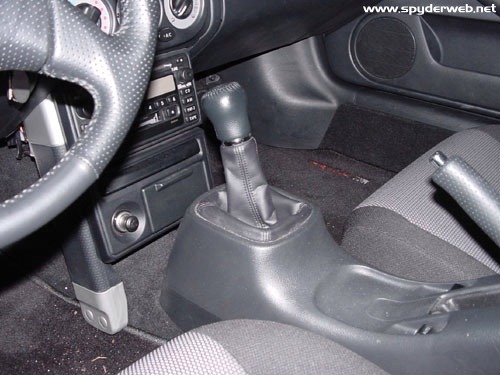
Here's a picture of the B&M shifter in first gear. |
|
|
 |
 |
|
Side view of the stock shifter. |
Side view of the B&M shifter. |
 Contact
 Andy's Parts Smarts
 Cart
Cart